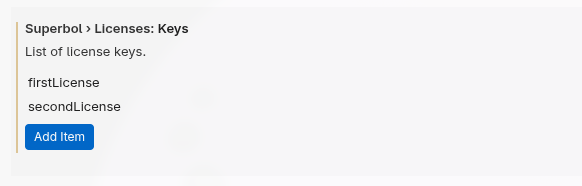
Adding a SuperBOL License
Registering a license in VS Code
To register a license in your VS Code application, you can either go through the SuperBOL extension settings or click on the notification that appears when SuperBOL starts.
Register via the Startup Notification
When starting SuperBOL, if no license is registered, this notification appears in the bottom right corner of the VS Code window:
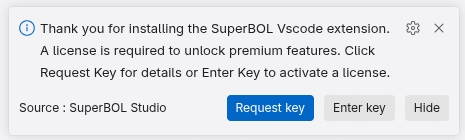
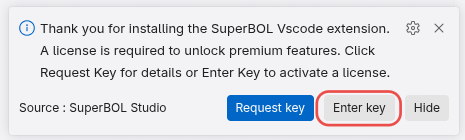
By clicking on Enter key, the settings window opens. You can then proceed by following the steps in the adding a license section.
Register via the SuperBOL Extension Settings
You can access the settings with the keyboard shortcut Ctrl+,, and then you can search @ext:ocamlpro.superbol to display only SuperBOL settings. You can then keep going from step 5 below.
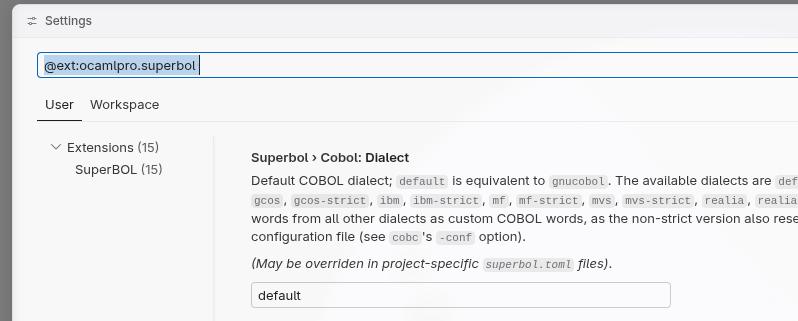
To access the license registration directly through the extension settings:
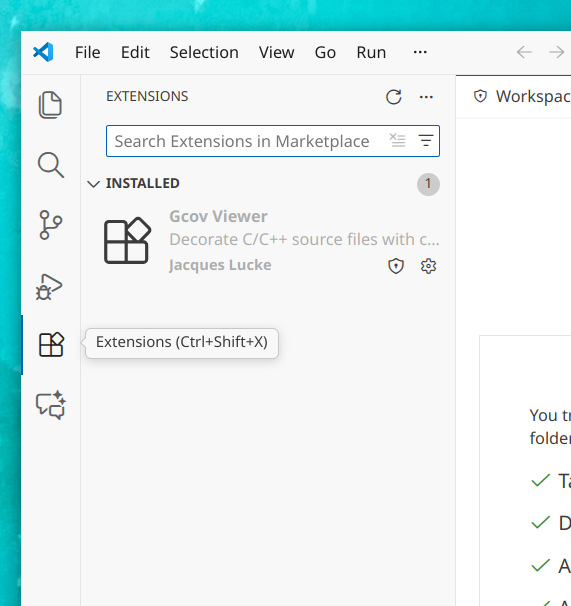
Open the Extensions panel:
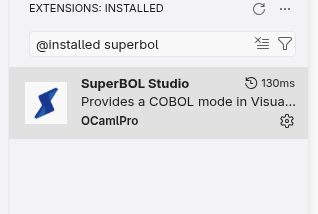
Search for “SuperBOL”:
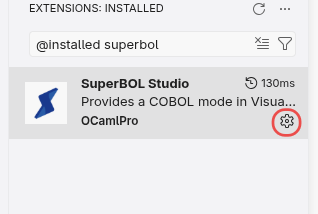
Click on the gear icon:
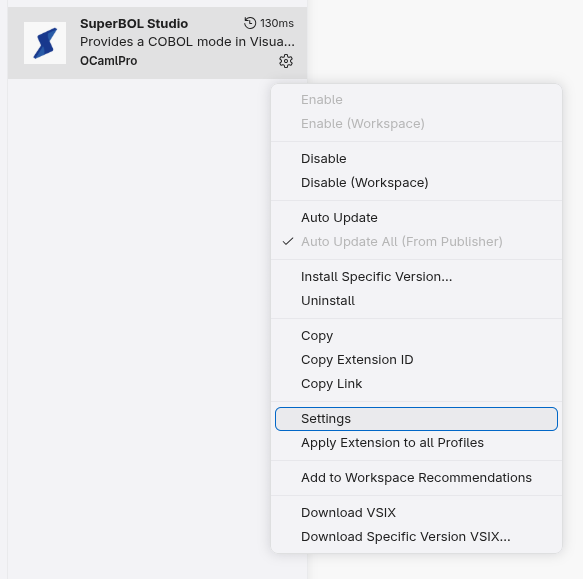
Select the “settings” option:
Search for “key” in the settings:
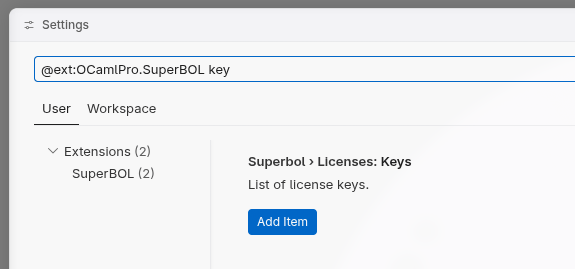
Registering the new SuperBOL license
Once you have access to the licenses settings, you can click on the Add item button, a text area will be displayed, in which you can copy your license key.
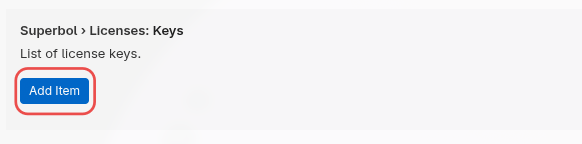
Only one license can be entered at once in a text area. If you own multiple licenses, you must add each key separatly with the help of the Add item button.